Create Your Own Tinted Moisturiser at Home
Let’s be honest — we all love the look of healthy, radiant skin. That subtle, lit-from-within glow that says, “I woke up like this” (even if you didn’t). But many tinted moisturisers on the market either lean too heavy, too orange, or too pricey, and finding the perfect match can feel like a treasure hunt.
Enter the ultimate DIY beauty hack: making your own homemade tinted moisturiser.
This approach not only saves you money, but also gives you complete control over the coverage, shade, and ingredients — ideal if you’re into budget beauty or have sensitive skin. Whether you’re skipping foundation for a day at home or creating a light base for summer, this tutorial will show you how to blend your way to your perfect tinted glow.
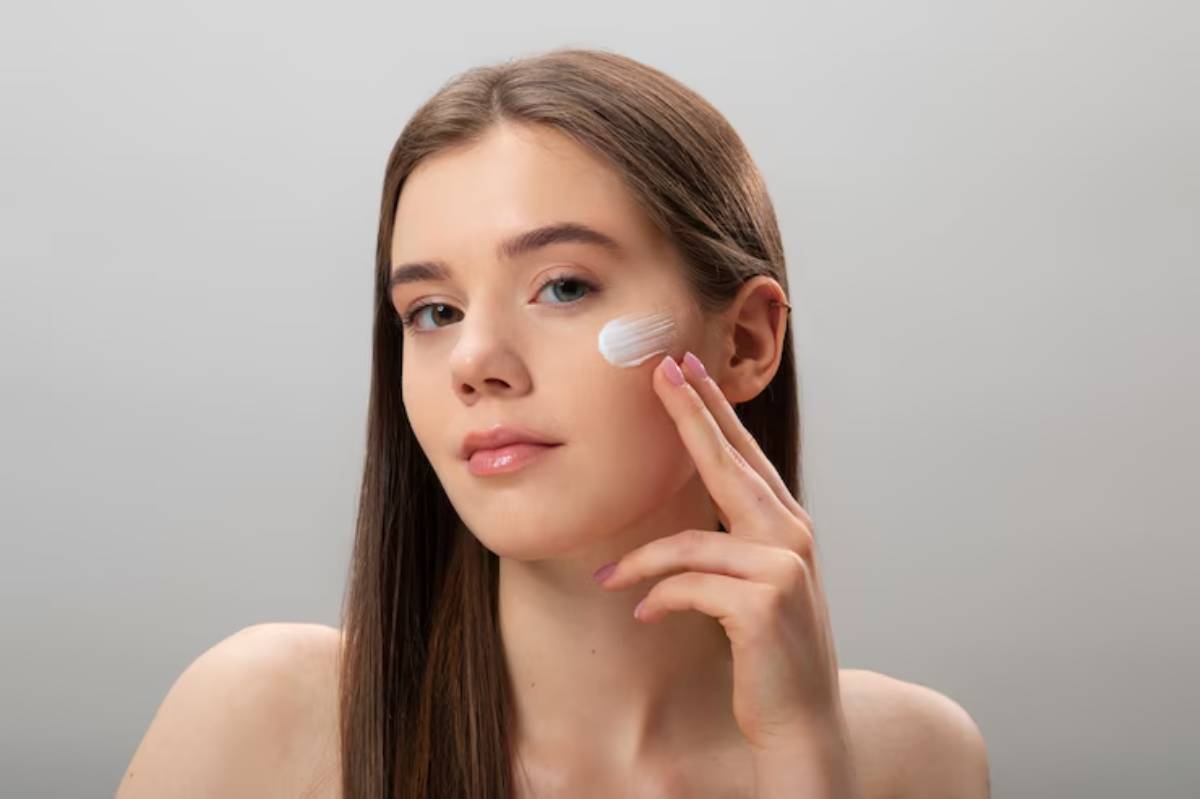
What Is a Tinted Moisturiser?
If foundation and moisturiser had a baby, it would be this. A tinted moisturiser is a lightweight product that:
- Hydrates the skin
- Even out skin tone
- Provides sheer, breathable coverage
It’s perfect for “no-makeup” makeup days and busy mornings when you need a little something to perk up your skin without looking overly made-up.
Why Make Your Own?
Making your own tinted moisturiser at home offers great savings and some amazing benefits.
Customisation
- Adjust the shade to suit your skin tone year-round
- Choose your desired coverage level
- Add skin-loving ingredients you already trust
Budget-Friendly
- Use what you already own
- No need to invest in multiple products
Cleaner Beauty
- Control what goes on your skin
- Avoid harsh additives, perfumes, and preservatives found in commercial formulas
What You’ll Need to Make Your Tinted Moisturiser
Let’s start with the basics. Creating a DIY tinted moisturiser is as simple as mixing two or three products — that’s it!
Core Ingredients:
- Moisturiser (base) Choose one that suits your skin type. Gel for oily skin, cream for dry skin.
- Foundation or Concealer (pigment) Pick a product that matches your skin tone. You can even mix shades if needed.
- (Optional) SPF or Skin Booster (extra care) Add a few drops of facial oil, serum, or SPF for added benefits.
Make Your Own Tinted Moisturiser
Choose Your Base
Pick a moisturiser you love and trust — preferably one that’s non-comedogenic (won’t clog pores). Here are a few favourites:
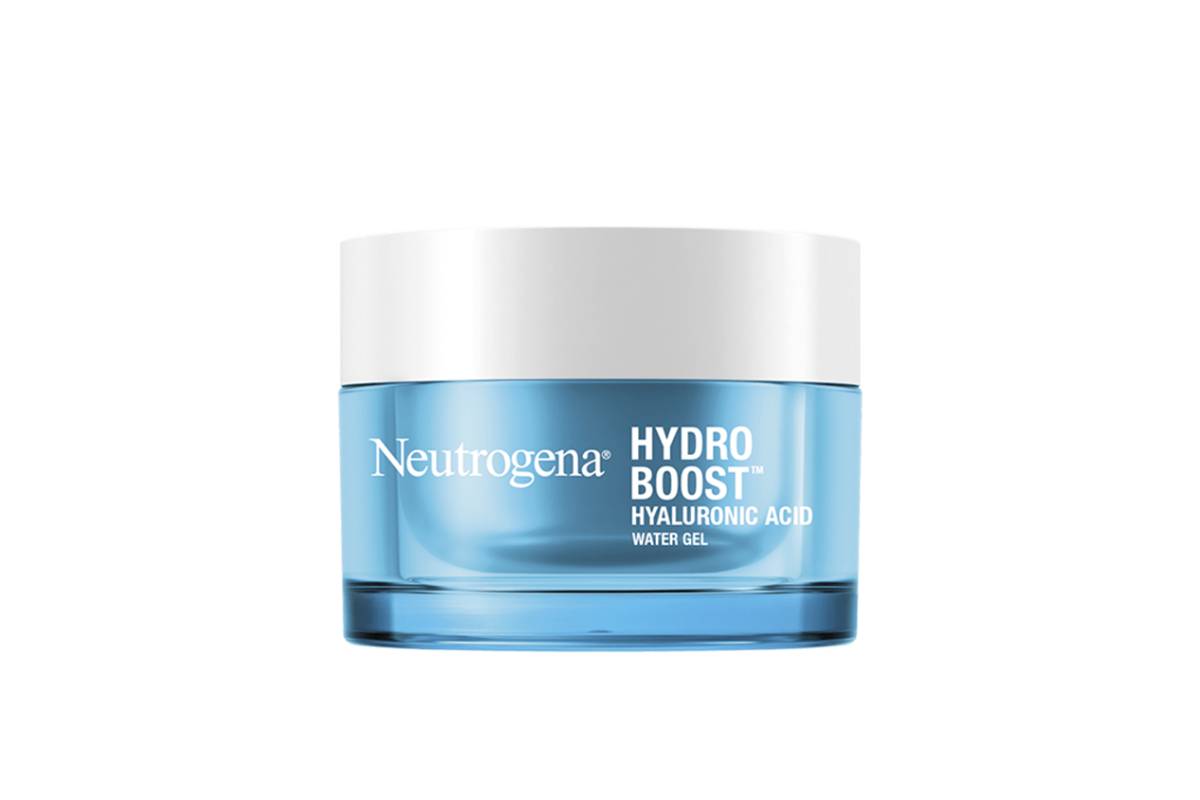
- For oily skin: Neutrogena Hydro Boost Gel Cream
- For dry skin: CeraVe Daily Moisturising Lotion
- For combo skin: The Ordinary Natural Moisturising Factors
Start with about a pea-sized amount.
Add Your Colour
Take your liquid foundation, BB cream, or concealer. Add a small amount — about half a pea-sized — to your moisturiser.
Prefer a lighter tint? Use less foundation. Want more coverage? Add a touch more.
If you’re unsure about the right shade, test on your jawline and adjust as needed.
Mix Thoroughly
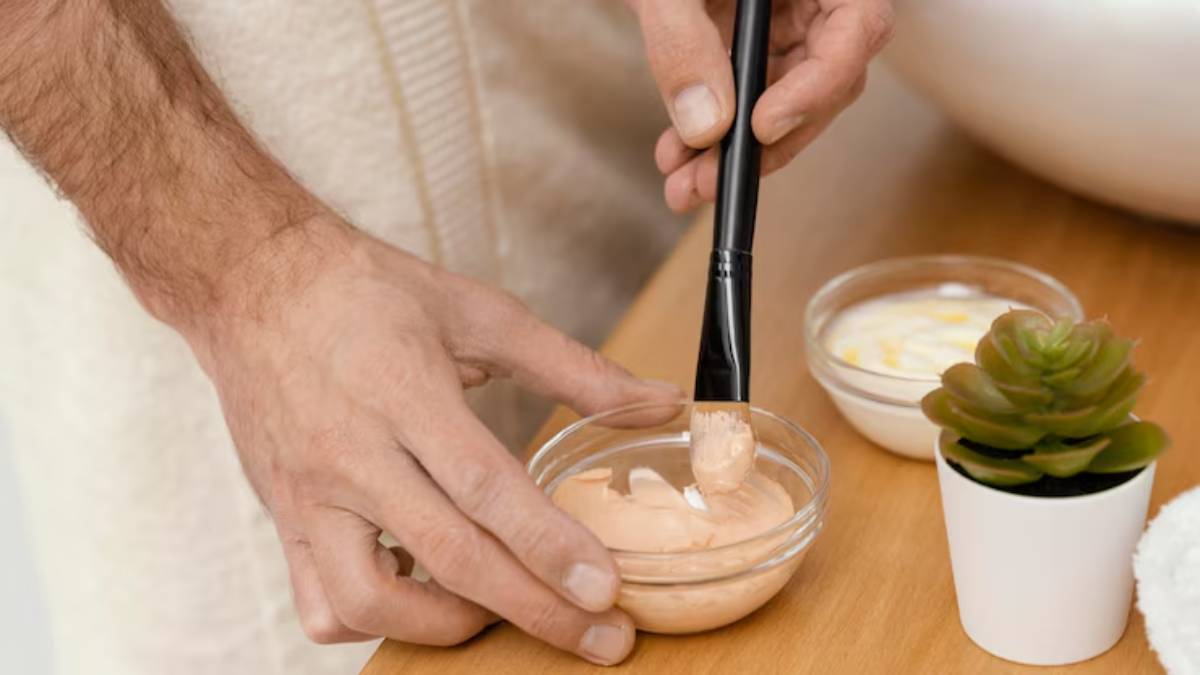
Use a clean brush, spoon, or your fingertips to blend until smooth and even. You can mix it on the back of your hand, a mixing palette, or a clean container if making a batch.
Optional extras:
- A drop of argan or rosehip oil for a glow boost
- A pump of SPF moisturiser for daytime use
- A dash of liquid illuminator for a radiant finish
Apply and Glow
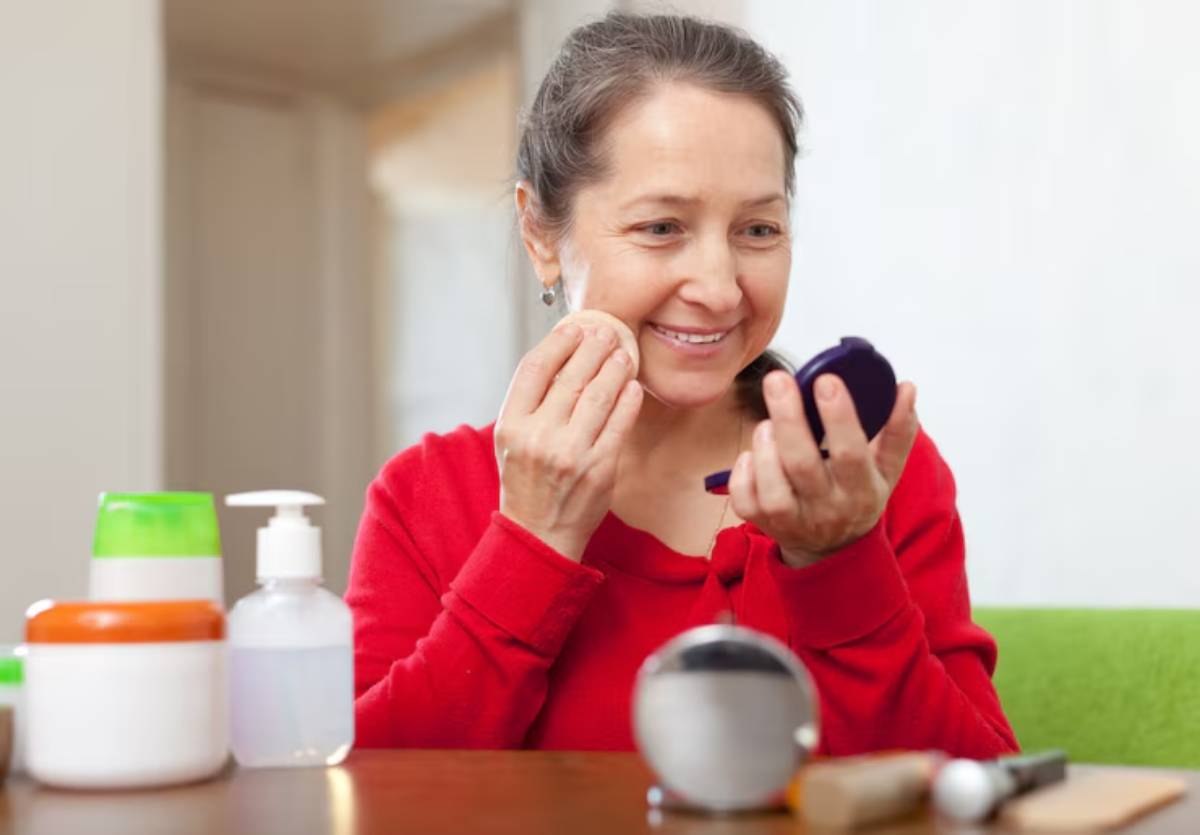
Apply using clean fingers, a beauty sponge, or a flat foundation brush.
Focus on the centre of your face and blend outward — this gives a natural, skin-like finish. You can layer lightly in areas where you need more coverage.
DIY Tinted Moisturiser Recipes for Every Skin Type
Here’s how to tweak your mix based on your skin’s unique needs.

For Oily or Acne-Prone Skin
Ingredients:
- Oil-free moisturiser (e.g. La Roche-Posay Effaclar Mat)
- Matte foundation (e.g. Maybelline Fit Me Matte + Poreless)
- Optional: A drop of niacinamide serum
Why it works: Balances oil without clogging pores. Keeps shine at bay all day.
For Dry or Mature Skin
Ingredients:
- Hydrating cream (e.g. Weleda Skin Food Light)
- Dewy foundation (e.g. L’Oréal True Match Lumi)
- Optional: Rosehip or hyaluronic acid serum
Why it works: Boosts hydration and radiance, smoothing fine lines.
For Sensitive Skin
Ingredients:
- Fragrance-free moisturiser (e.g. Avene Tolerance Extreme)
- Mineral or natural foundation (e.g. bareMinerals Complexion Rescue)
- Optional: A drop of calendula oil
Why it works: Soothes irritation and offers gentle coverage.
Common Mistakes and How to Fix Them
Even the best homemade mix can go sideways without a few key tips.
It’s too dark
- Add more moisturiser to dilute the pigment
- Mix in a drop of light concealer or liquid highlighter
It separates or pills
- Avoid silicone-heavy products that don’t mix well
- Blend thoroughly and apply in thin layers
Looks patchy
- Exfoliate and moisturise beforehand
- Use a primer if the skin is textured
How to Store Your DIY Tinted Moisturiser
If you’re mixing a single-use amount, just blend on your hand or palette. But if you’d prefer to make a small batch, store it in a clean, airtight container for up to 5–7 days.
- Use a glass or plastic jar with a tight lid
- Keep it in a cool, dry place (or the fridge in summer)
- Stir before use if it separates
Tools That Make It Easier
To elevate your DIY experience, here are a few affordable tools that can help:
- Mini spatulas or skincare scoops
- Mixing palettes (or even a clean ceramic plate)
- Small travel pots or sample jars
- Makeup brushes or sponges for application
The Best Times to Wear Tinted Moisturiser
Perfect for:
- Casual work-from-home days
- Hot summer weather
- No-makeup makeup looks
- School runs or errands
- Layering under a heavier foundation for extra hydration
Conclusion: Your Glow, Your Way
Creating your own tinted moisturiser at home is more than a money-saving hack — it’s a way to personalise your beauty routine, reduce waste, and feel more connected to your skin.
Whether you want sheer coverage, extra glow, or just the joy of using what you already have, this DIY beauty hack gives you the tools to customise your look without overspending.
So the next time your skin needs a lift but your wallet says no, just grab your moisturiser and a bit of foundation — and get blending.
